
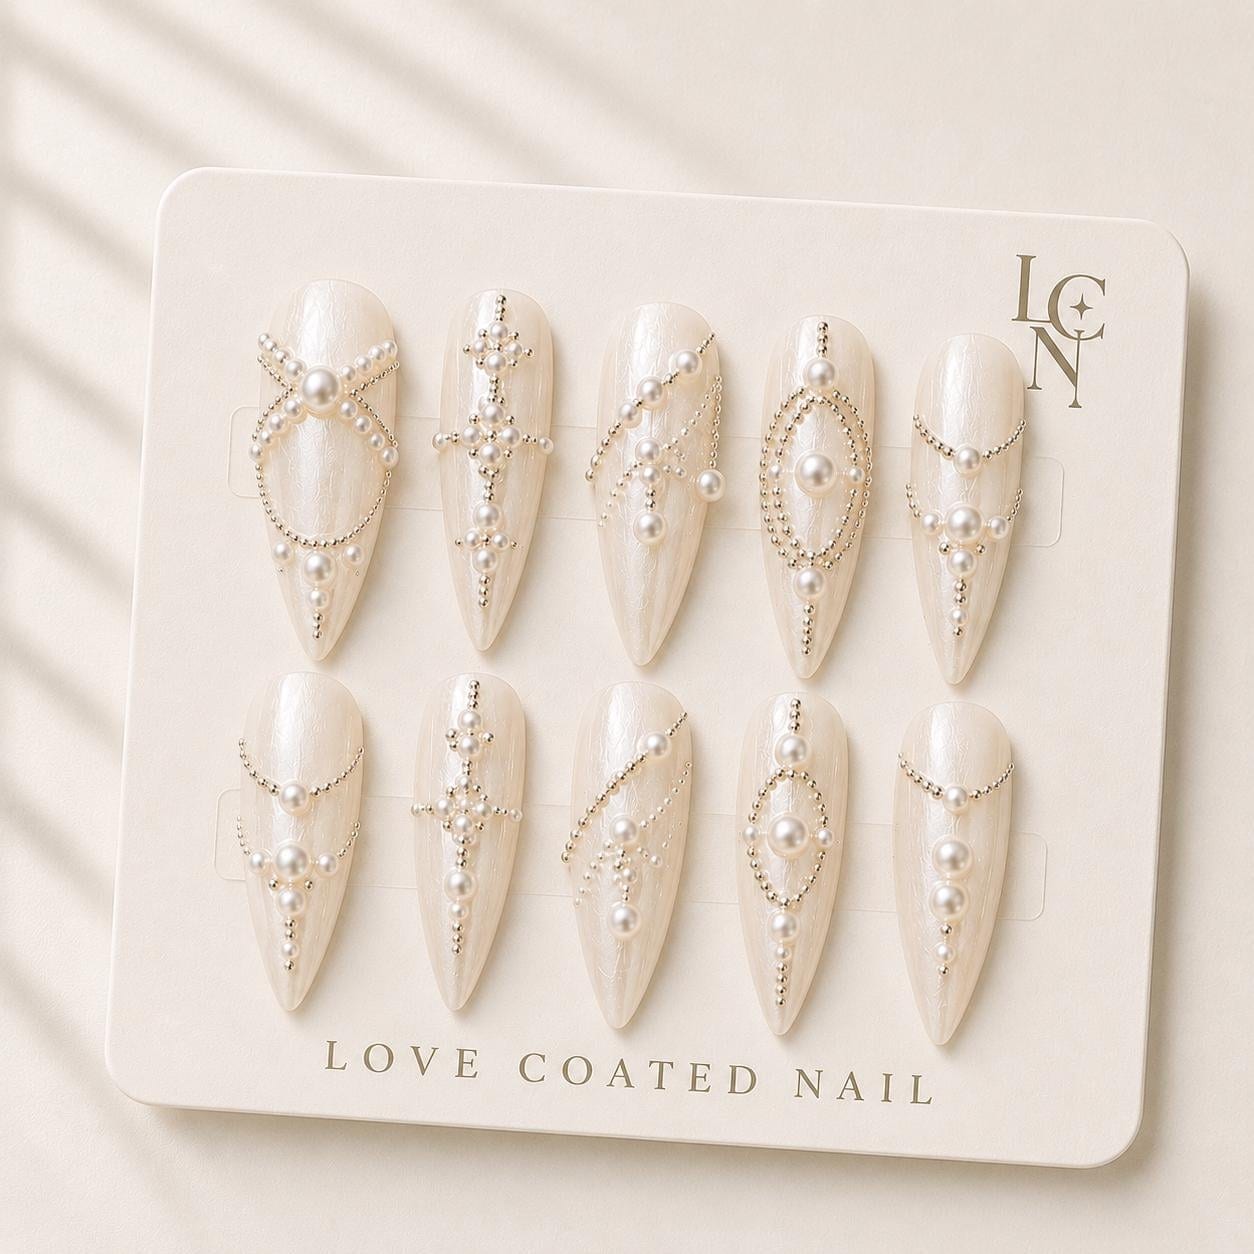
The quickest way to match your bridal nail color with a pearl‑accented veil is to start with an ivory base that mirrors the veil’s satin sheen and then add delicate pearl details that echo the veil’s embellishments. An ivory glaze with subtle pearl flecks creates a visual bridge between the fabric and your manicure, ensuring the two elements look like parts of the same design.
First, examine the veil under the lighting you expect on your ceremony. Natural daylight, soft candlelight, and the glow of reception chandeliers each reveal different nuances in the pearl accents. Take note of whether the pearls appear warm with a golden halo or cool with a silvery sheen. This observation will guide the undertone of your nail color—warm ivory for golden pearls, cooler ivory for silver tones. A neutral base prevents clashing and lets the pearls remain the focal point.
Next, select a nail shade that sits just a shade lighter or equal to the veil’s fabric. If the veil is a classic ivory satin, a soft, glazed ivory press‑on nail works beautifully. For veils that lean toward cream or blush, choose a slightly tinted ivory that picks up those hints. The goal is a seamless gradient, not a stark contrast. The Y2K Ivory Almond Nails from Love Coated Nail offer a luminous ivory finish that reflects light similarly to a satin veil, making them an ideal foundation for this look.
After establishing the base, consider adding pearl embellishments to the nails themselves. Small, scattered pearls placed near the cuticle or at the tip echo the veil’s detailing without overwhelming the hand. If your veil features larger pearls along the edge, a single accent pearl on each nail can create a balanced echo. The handcrafted pearl accents on the Love Coated Nail set are already integrated, providing a ready‑made solution that aligns with the veil’s design language.
Before committing, perform a quick lighting test. Hold a few nails next to a swatch of the veil fabric and view them in the three lighting scenarios you’ll encounter: daylight, indoor warm light, and evening dim light. The colors should appear harmonious in each setting; if a particular lighting reveals a mismatch, adjust the nail shade by a shade lighter or darker until the transition feels natural. This step prevents surprises in photographs where flash can highlight subtle differences.
Finally, apply the nails with care, ensuring a smooth finish that won’t lift during the day. Use the adhesive tabs for a quick, gentle bond if you’re applying the night before, or opt for the stronger glue if you need extra security for dancing and photo sessions. Once on, moisturize your cuticles and avoid prolonged water exposure for the first few hours to let the adhesive set fully. With the right base, coordinated pearl accents, and a thorough lighting check, your nails will complement the veil as effortlessly as the veil frames your dress.
Remember that the overall effect is about unity, not exact duplication. By matching undertones, echoing pearl placement, and testing under realistic lighting, you create a cohesive bridal look that feels intentional and elegant. The subtle shimmer of the ivory press‑on nails will catch the light just as the veil does, allowing both elements to shine together in every photograph and memory of your special day.